Our First App: WildLifeShow
Now that you are all setup, let's make our first app. We will call it WildLifeShow. The concept is, we will have three buttons on the app. Upon a button click, we will display a corresponding image and fire up a specific sound. Here's a snapshot of the app we are about to make-

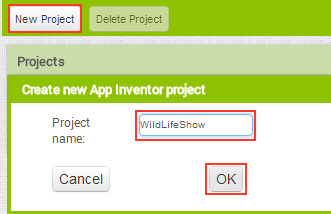
Let's get started. I know you are excited! On your browser, go to Projects. Click the New button to create WildLifeShow app. This will make a new dialog box to open. Enter the name of our app in the Project name box. Press OK.
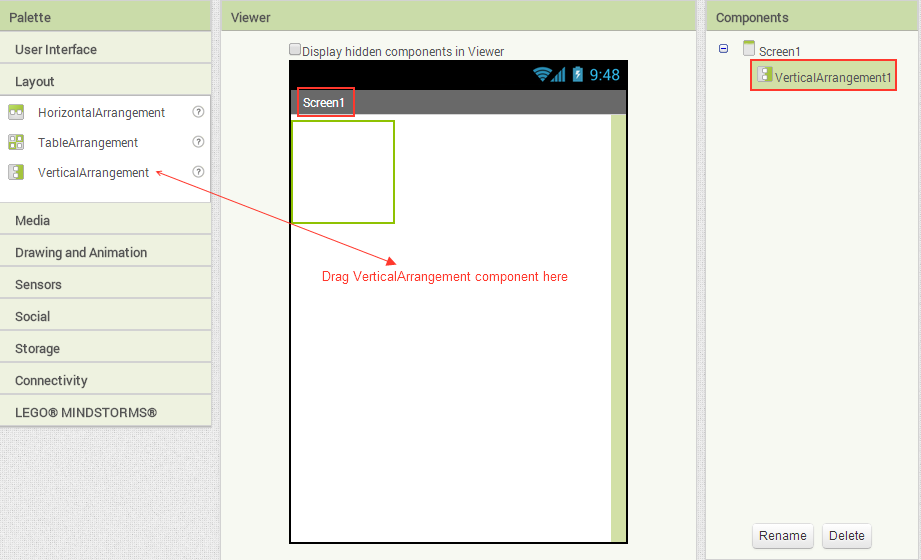
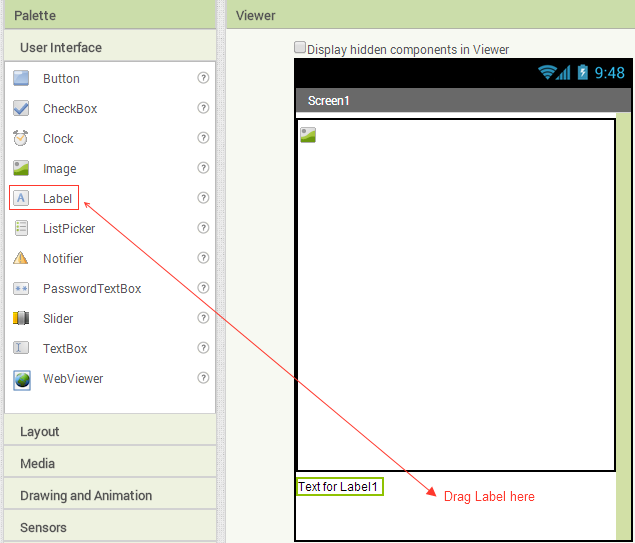
Now drag a VerticalArrangement component on Screen1 window where we will display our images later. This will create a vertical arrangement component on ourScreen1. The name of the component will be automatically VerticalArrangement1. You can change the name by selecting the component under Components pane and then selecting Rename button below the pane.
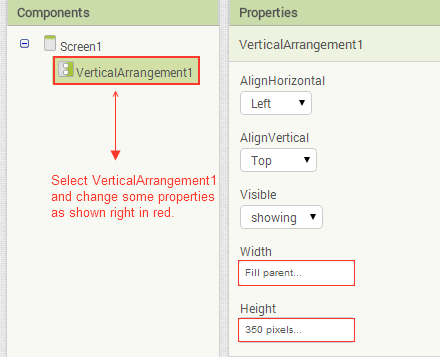
All the components you drag to Screen1 can be seen under Components pane. We need to change some properties of VerticalArrangement1. Select VerticalArrangement1 under Components pane. On Properties pane you will see the properties of the component you selected. Change VerticalArrangement1's Width to Fill parent and Height to 350 pixels.
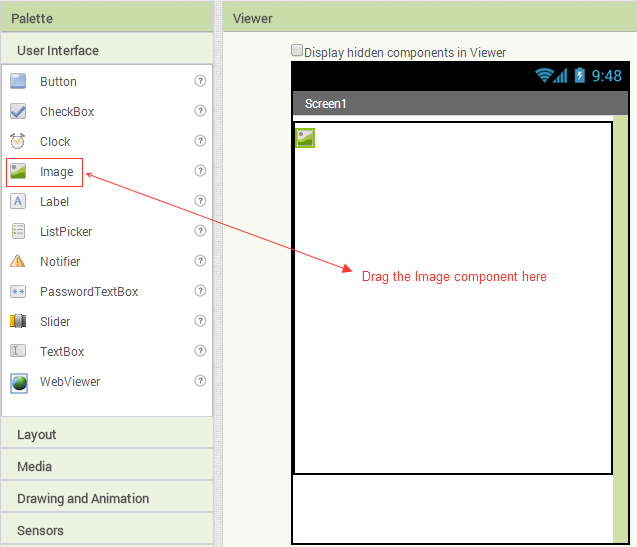
Drag an Image component and place it inside VerticalArrangement1 component that we placed earlier on Screen1. Note that the name of Image component is Image1.
Get a Label component and place it below VerticalArrangement1. Take note of the name of our Label component which is automatically set to Label1.
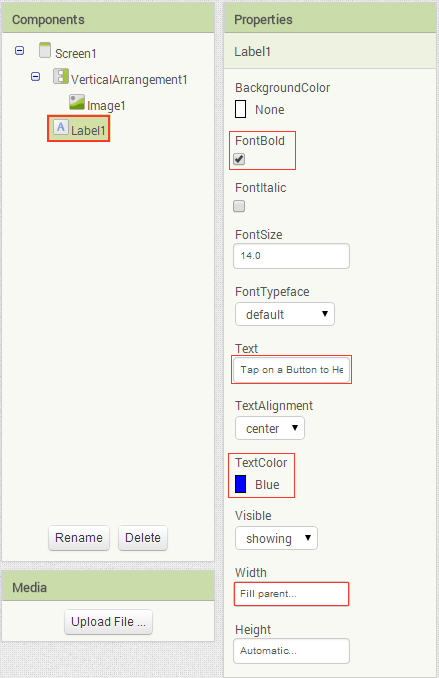
We need to change some properties of the Label component. Select Label1 under Components pane and change some of its properties as stated below-
- Check the FontBold property.
- In the Text property, type Tap On A Button To Hear Them. You can type anything you like.
- Change the TextAlignment to center if not already set by default.
- Set TextColor to Blue.
- Change the Width to Fill parent.
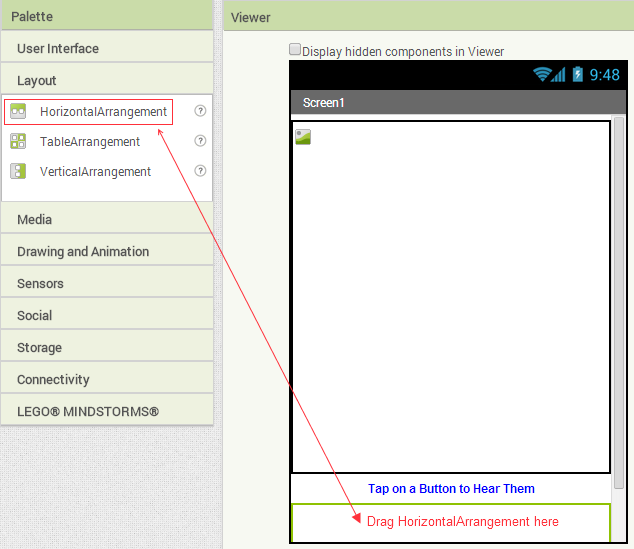
Now we need a HorizontalArrangement component where we will place our three buttons. Get a HorizontalArrangement component and place it below our Label component. Take note of the name HorizontalArrangement1.
Inside the HorizontalArrangement1, place three Buttons one after another.
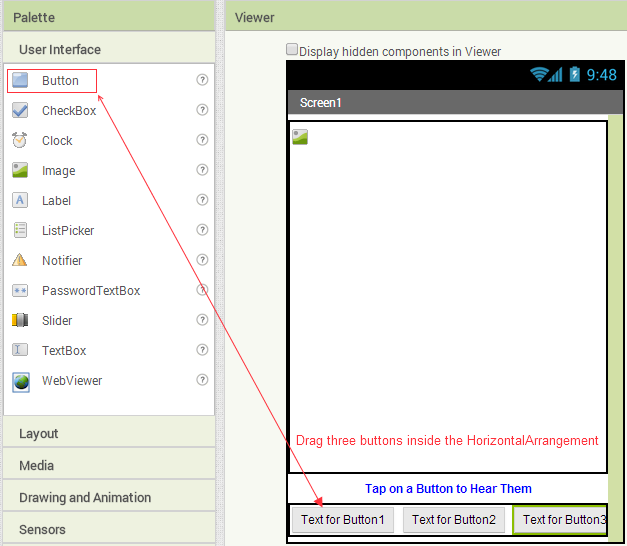
Now change the properties of the buttons as follows:
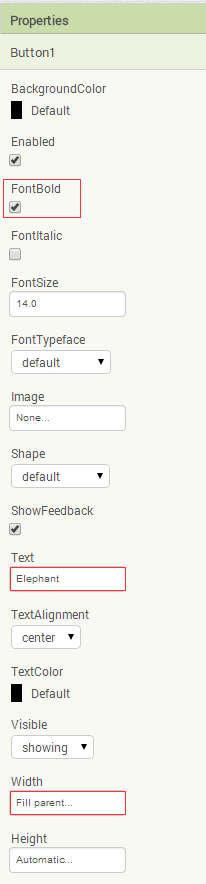
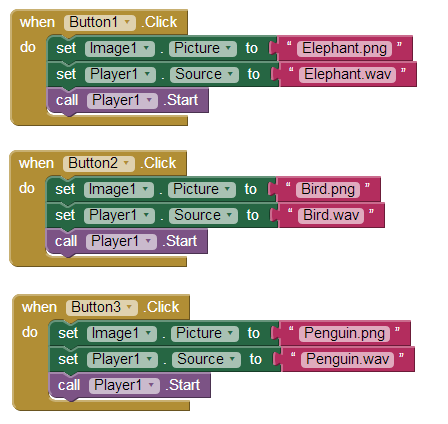
- Select Button1 and change its Text property to Elephant, Width to Fill parent, and have FontBold property checked.
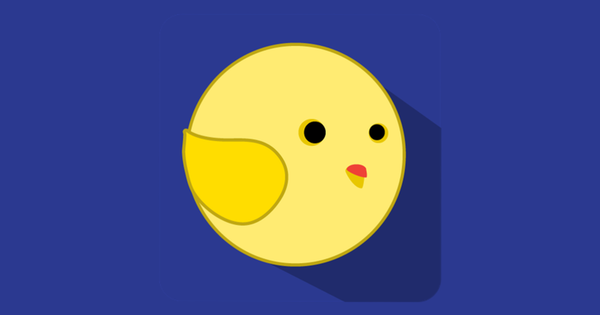
- Now, select Button2 and change its Text property to Bird, Width to Fill parent, and have FontBold property checked.
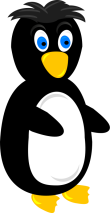
- Lastly, select Button3 and change its Text property to Penguin, Width to Fill parent, and have FontBold property checked.
This is how a button property should look like-
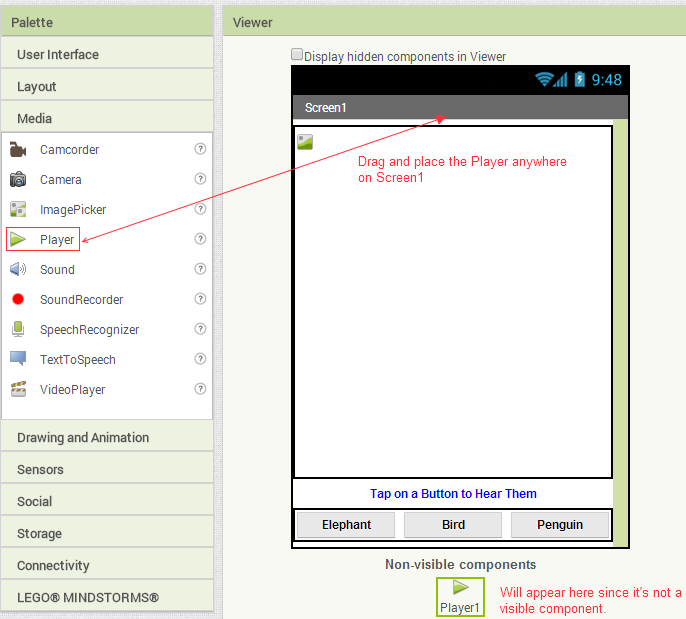
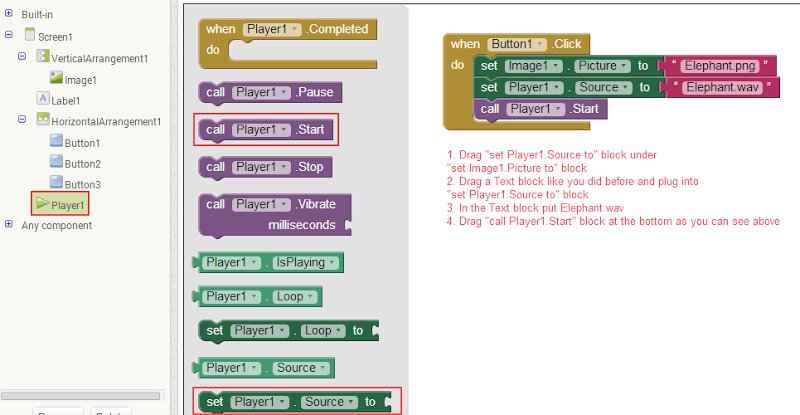
We also need to play sound. In order to do that, drag a Player component and place it anywhere on Screen1. Since Player is a non-visible component, this will appear underneath Screen1 window.
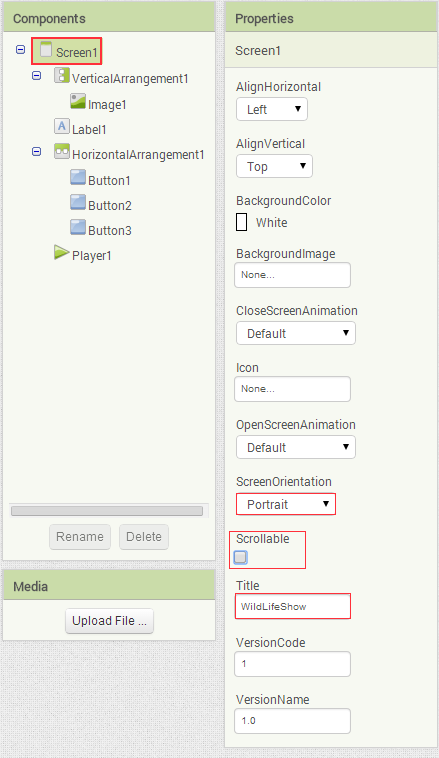
We need to change some Screen1 properties. First we want our app to be on Portrait mode. Second, it should not be scrollable. And lastly, we need to change the title to WildLifeShow. Select Screen1 and change it accordingly to match the settings in the image below.
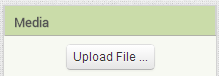
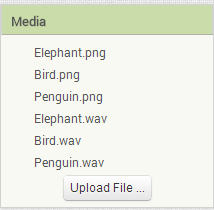
Under Media pane, click Upload File... and upload the image and sound files that you saved in your computer one by one.
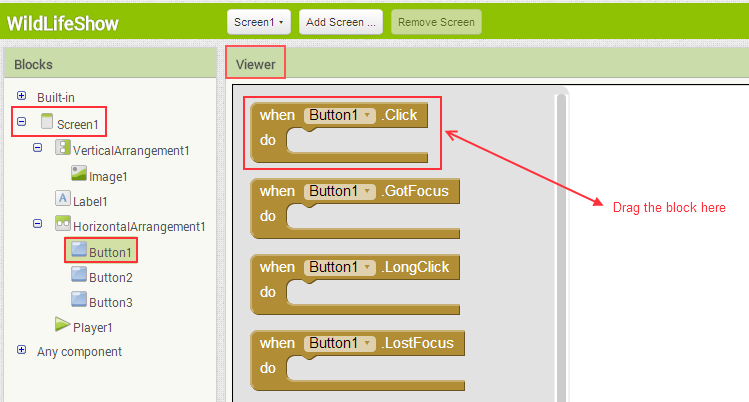
On the Blocks editor window, click on the tiny '+' symbol beside Screen1 to expand. Locate Button1 and click on it. Now we can see all the events and different properties of Button1. Select and drag the Button1.Click block to Viewer window as shown below.
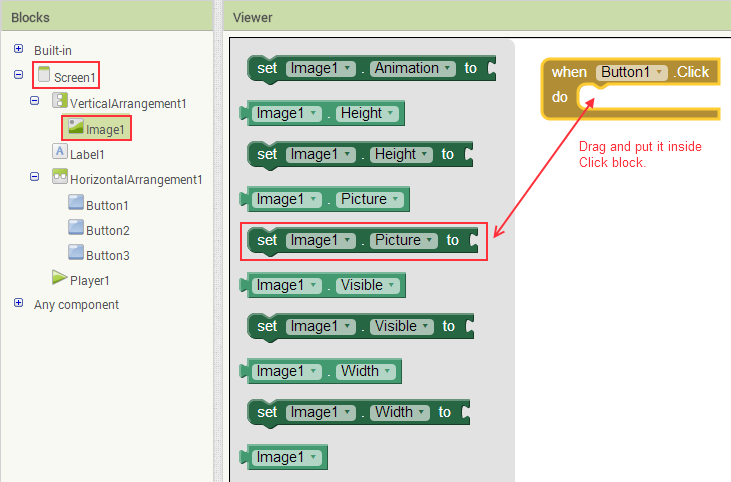
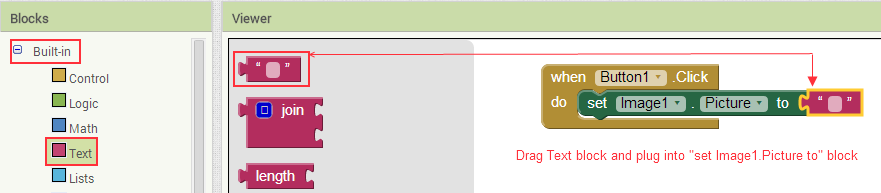
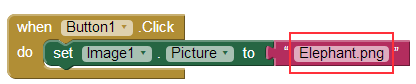
Now under Screen1, locate and click Image1. This will show the events and properties of Image1. Get the "set Image1.Picture to" block and place it inside theButton1.click block. Once you place it, you should hear a click sound which means the blocks are properly connected to each other.
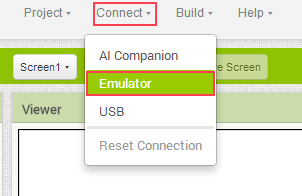
After you have setup to run on an emulator, you can go to Connect and then click on Emulator.
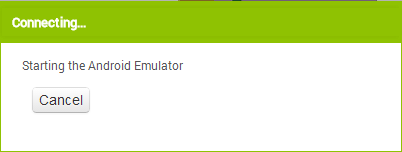
You should see a message stating that it's trying to connect.
After it's done connecting and installing, you will see the app in the emulator.
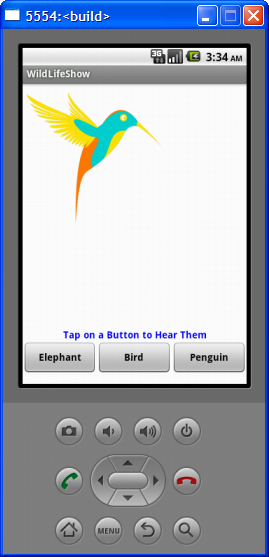
You just made your first Android app! Click the buttons and enjoy the show.
Download the source and try it for yourself - WildLifeShow